
- Academic Technology
5 Tips to Improve the Audio Quality in Your Video Presentations
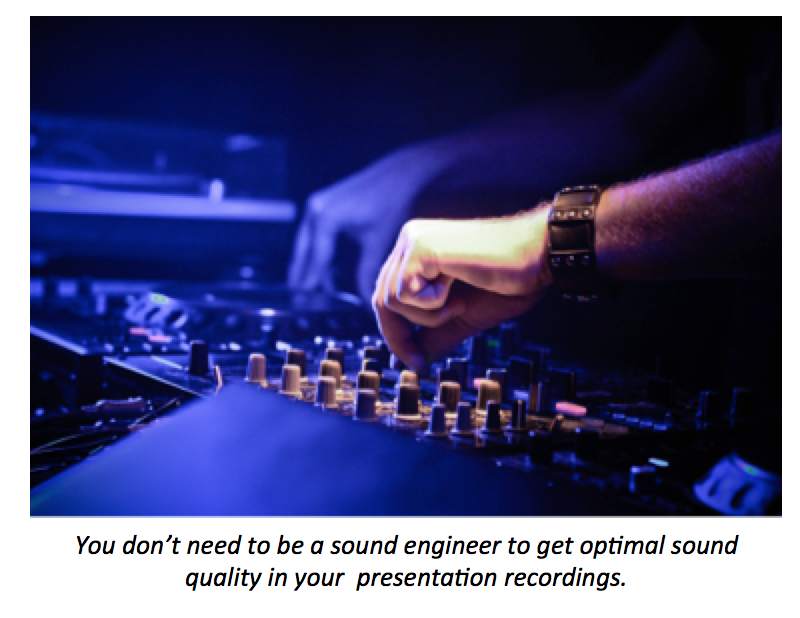 We’ve all seen them before: online videos in which the audio quality is so poor that it becomes difficult to pay attention to the speakers or information being presented. When recording a video presentation or preparing for a webinar, many people spend most of their effort making sure the video is perfect, and tend to overlook simple audio settings that can make or break the quality of a recording.
Good audio quality is a critical component in ensuring your viewers stay engaged and don’t miss any part of your presentation. High-quality audio also improves the accuracy of speech search within your videos, making it easier for viewers to find and fast-forward to precise words or phrases mentioned by a speaker. Here are 5 simple tips that can make sure the audio in your online presentations are as clear and easy to hear as possible.
1. Remove as much ambient noise as possible.
In order to get the best sound quality out of your microphone, you need to be sure that you minimize any ambient noise in the room. Even seemingly innocuous room items like a spinning ceiling fan, which may be practically silent to you, can cause distracting background noise in your recording. Before you start recording, make sure that any fans are turned off and any office machines (such as a fax machine or printer) that could interrupt you are unplugged. If possible, we also recommend positioning your microphone away from your computer. PC fans can sometimes increase in speed due to hardware usage during a recording.
2. Choose the right audio recording equipment.
In many cases, your laptop’s onboard microphone or the microphone on your webcam will be sufficient if you’re recording in a small room with little ambient noise. On the other hand, if you’re in a conference room or auditorium setting, you may want to consider using a uni-directional microphone. A uni-directional microphone ensures that only the sound from one direction will be picked up. By contrast, an omnidirectional microphone will pick up sounds from all directions — which would capture distracting sounds from other people in a classroom or the audience.
Two of our favorite microphones are the Blue Yeti and the Sony ECM-AW3. Both of these mics offer great sound quality at an affordable price. If you’re using Panopto Express to record, our broad device support ensures that whichever microphone you choose, all you need to do is plug it in. We take care of the rest.
3. If you choose to use music, leave it to the beginning and end of your presentation.
There’s nothing more distracting than having to listen to a music track being played underneath your vocals for an extended period of time. If you’d like to incorporate music into your presentation, limit the use to 5-6 seconds in the beginning and end of your video. Using music in this way can help introduce and close your session for your viewers.
However, be mindful of copyrights when using music for presentations. To keep things simple, we suggest using a stock audio site like AudioJungle or the audio section of iStockPhoto, where inexpensive royalty-free music clips can be purchased.
4. Keep an eye on your input volume.
To make sure that you’re recording at the right volume levels, it’s important that you pay attention to the input volume meter in your recorder. If you’re using the Panopto software for Windows, the input volume is on the right side of the screen; if you’re using our software for Mac, the input volume can be found near the bottom of the recording window.
The Input Volume meter on the Panopto Recorder for Windows
The Input Volume meter on the Panopto Recorder for Mac
As you record, you’ll want to keep your volume in the green zone. If you find that your voice is constantly metered in the red zone, your input volume is too high and your audio will be “clipped,” resulting in distorted audio during playback.
5. Don’t forget to sound check!
Although this step may seem to be a no-brainer, it’s one that many people miss. When you’ve finished setting up your presentation recording area and are almost ready to start, take a few minutes out to make a quick test video. It doesn’t have to be complicated — simply record yourself saying a few brief words. Once you’ve completed your test recording, Panopto will automatically upload it into your organization’s video library, where you can play it back to make sure that your audio and video quality are exactly as you want it. Making a test recording gives you the opportunity to make any necessary quick adjustments before you record your actual video, sparing you from any surprises in your final recording.
Record your screen with Panopto Express, a free online screen recorder.
Share instantly through YouTube, Google Classroom, or anyway you prefer.
No free trial limitations. No downloads, plug-ins, user accounts, or credit card required.