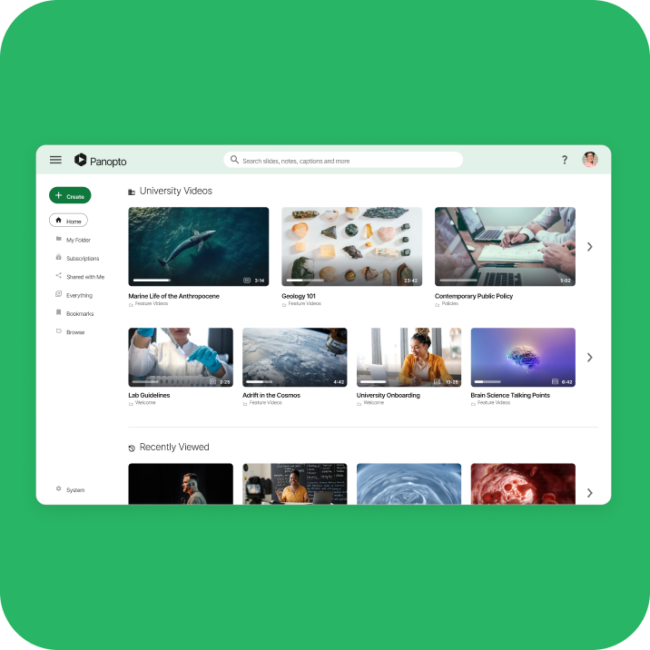
Manage Video Conference Recordings
Panopto is an AI-powered video management solution, which makes all the information in your video conference and meeting recordings secure, searchable, and easily shareable.
13,000,000
users


Stop taking notes and minutes.
Start recording your conferences.
Meetings are often where work happens. In the US alone, there are between 36 and 56 million business conferences held every day, with the average employee attending 62 each month.
Unfortunately, much of the valuable information exchanged in these meetings is lost. Only an hour after a meeting ends, employees can recall just 44 percent of the content discussed. And six days after a meeting, that number drops to 25 percent.
Meeting minutes and summaries do little to address the issue, as they capture only a tiny fraction of the discussion. They can’t reproduce the nuances of conversation nor the details of visual aids such as whiteboards and screen sharing.
That’s why a growing number of organizations now record meetings as a standard practice. When you record your meetings, attendees can give their undivided attention without worrying about taking notes.
No one has to resolve a last-minute scheduling conflict. Teams can share recorded meetings with new team members after the session took place. And a searchable archive of recorded meetings can provide an unparalleled historical context for ongoing projects.
Whether you’re recording from your video conferencing system, or simply with a camera in the conference room, Panopto makes it easy to securely capture, manage, and share just about any kind of meeting.
Do More with your video conference recordings
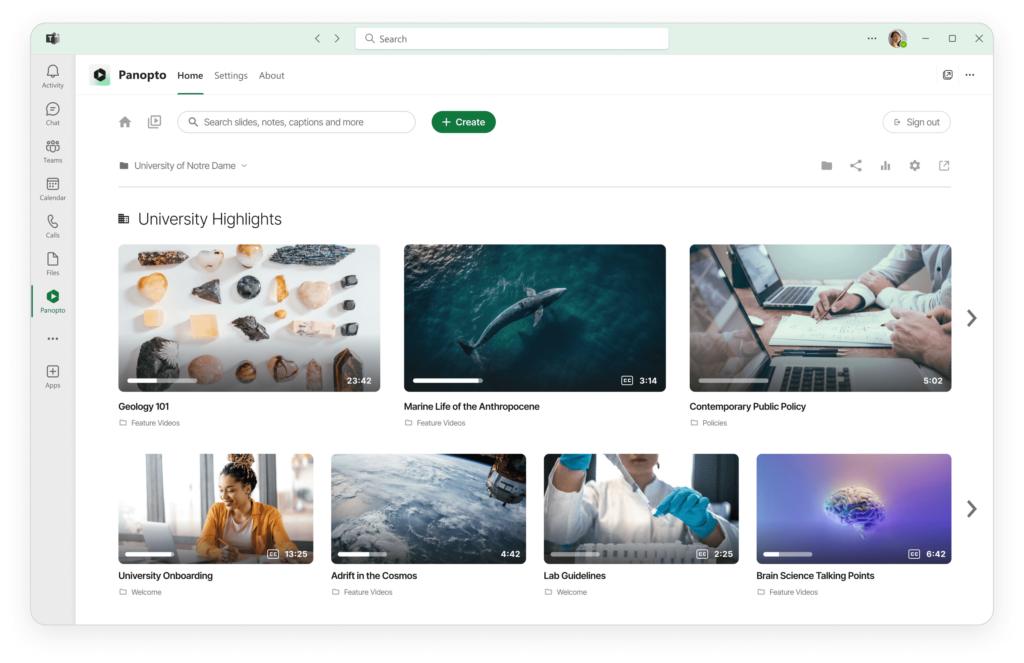
A secure, central library for your conference recordings.
Most video conferencing solutions provide basic recording functionality that allows you to capture the audio, video, and screen shares from your video meetings. But what happens to those videos once you finish recording? Most of the time, you’re left with a large file dropped onto your desktop, with no easy means to share that recording securely with the rest of the team. At best, you may have access to a limited amount of cloud storage, where your recordings will expire unless you also make expensive upgrades to your video conferencing solution.
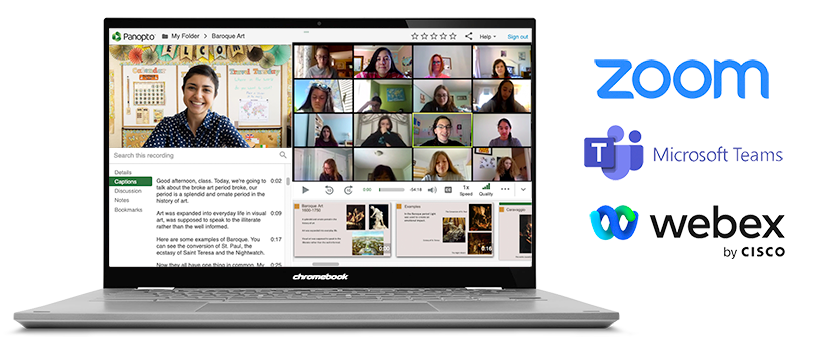
Panopto integrates with industry-leading video conferencing software, including Zoom, Skype for Business, Microsoft Teams, GoToMeeting, and BlueJeans to take the work out of storing and sharing your video conference recordings. Best of all, you don’t have to do anything different. Just press “record” in your video conferencing system, and once your call is finished, Panopto will automatically capture, convert, and upload your recorded meetings. Administrators can manage content from a secure, searchable video content management system (video CMS) with unlimited long-term storage.
Already have video meeting recordings saved on network drives, in SharePoint, on employee hard drives, and elsewhere in your organization? No sweat. Panopto makes it easy to centralize all of your existing conference recordings, while also making them searchable and shareable.
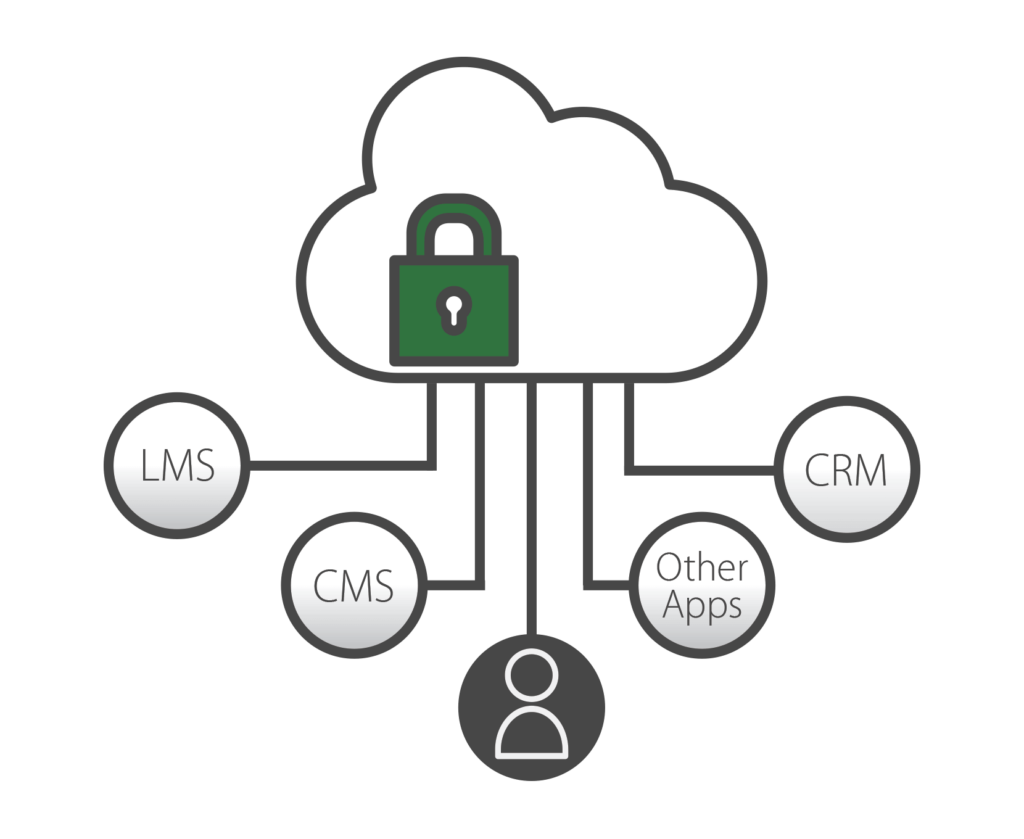
Integrate with the video conferencing systems you already use.
Manage and record video conferences at scale.
Video conferencing solutions are great for real-time communications. And while most make it easy to record your meetings, none will help you manage and share those recordings securely. By integrating Panopto with your video conferencing system you can turn live conversations and collaboration into searchable on-demand knowledge assets, which enables your people to rapidly find and share more detailed information.
Panopto integrates with single sign-on (SSO) ID management solutions including Google Apps, oAuth, SAML, and Active Directory, so you can easily manage who in your organization is able to view what, at scale. You don’t have to give your employees a password for each private video or enforce another set of credentials to access their conference recordings.
Establish complete control as an administrator over how employees are sharing meeting recordings, whether at the company level, department level, or individual recording level. Administrators can also manage video content retention and availability, which enables you to set videos to auto-delete based on your own rules and daylight new content on a particular day and time.
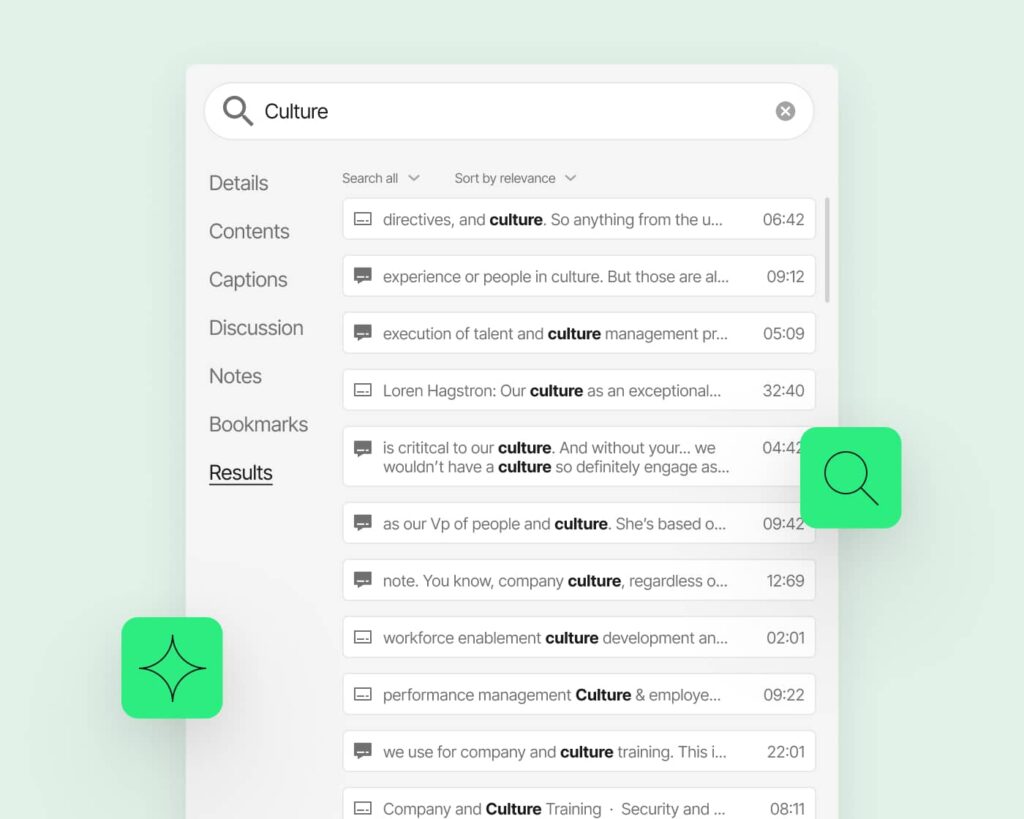
Search inside recorded meetings.
Meetings are valuable because they give people time to discuss a ton of information. But when you’re just looking for one specific detail, replaying a recorded meeting is usually the least efficient option. Who has time to watch a 60-minute web conference recording when all you needed was a two-minute segment?
Panopto’s Smart Search gives you a better solution. Smart Search automatically indexes every word spoken and shown on-screen in every video conference recording you upload to your library. With Smart Search, your people can search your videos the same way they search their email, and get direct links to instantly fast forward to the relevant moments they were looking for.
The one-stop shop for video conference recordings
Understand what the hype is really about in just under two minutes:
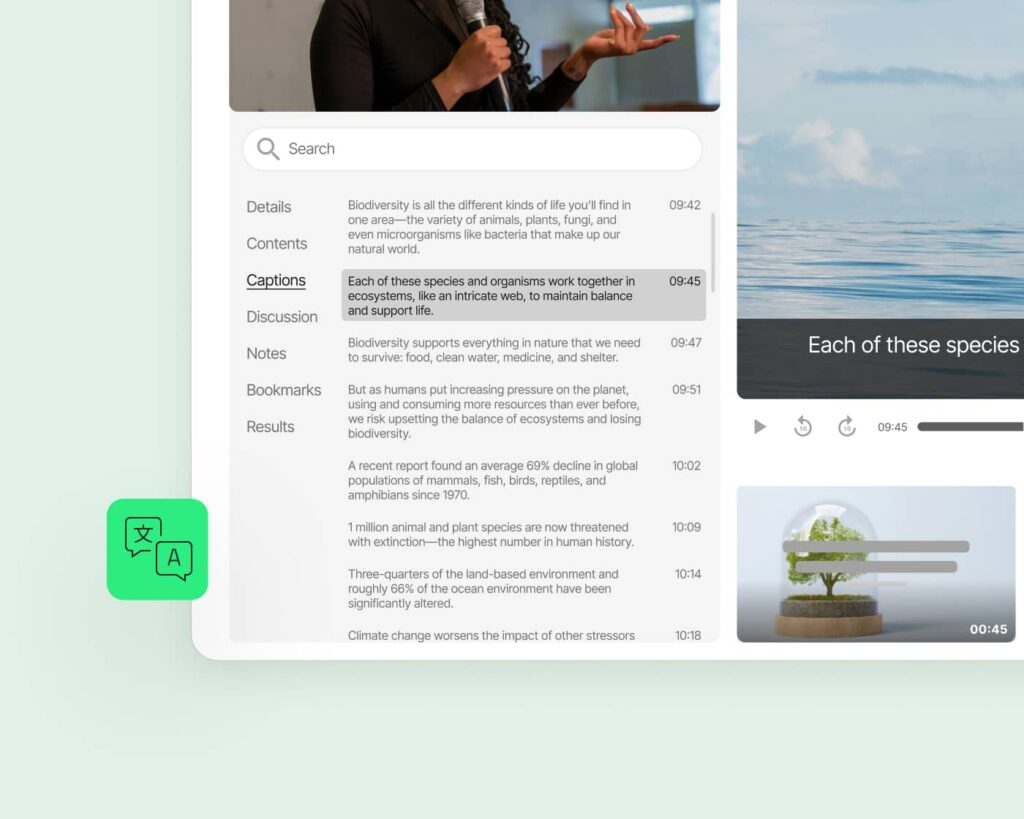
Transcribe every word spoken during meetings.
Most meetings cover a lot of information. Which is why it’s long been standard practice for meeting attendees to take notes, record formal minutes, or both. But when people are pausing for notes, they aren’t actively participating in the discussion. Assigning someone to take minutes isn’t a productive use of even the most junior employee’s time. And moreover, even the most diligent note-takers might still miss all those details that seem inconsequential in the moment. Even if they may turn out to be critical in six months’ time.
When you record your meetings, whether using your video conferencing system or Panopto directly, Panopto will automatically transcribe every word spoken or shown on-screen during your meetings as soon as the video is uploaded to your Panopto library. Meeting owners can fully edit Panopto created meeting transcripts and enable them to be displayed right in the playback window for viewers to reference as they watch the recording.
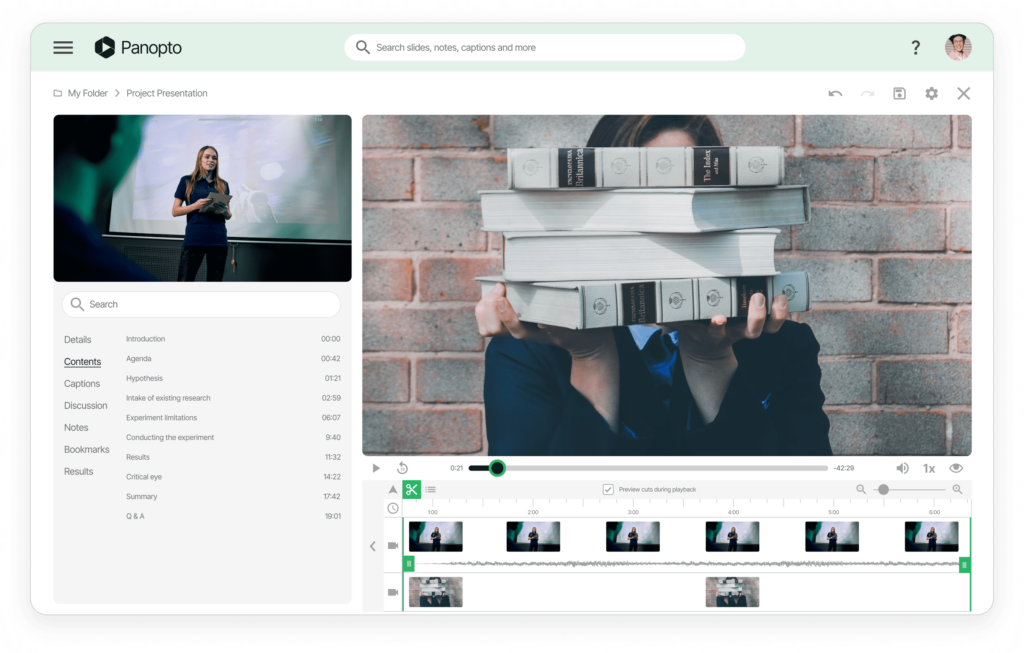
Edit video conference recordings.
Whether a meeting got off topic halfway through or began with the usual catch-up about kids, sports, vacations, and other casual conversations, you don’t always need to document every second of a meeting.
Panopto’s online video editor makes it easy for you to remove those first few minutes of personal discussions or to cut out off-topic conversations from your conference recordings. Furthermore, you can also splice together important moments from multiple meetings to pull every conversation about a project or initiative into one video, and even add quizzes inside videos.
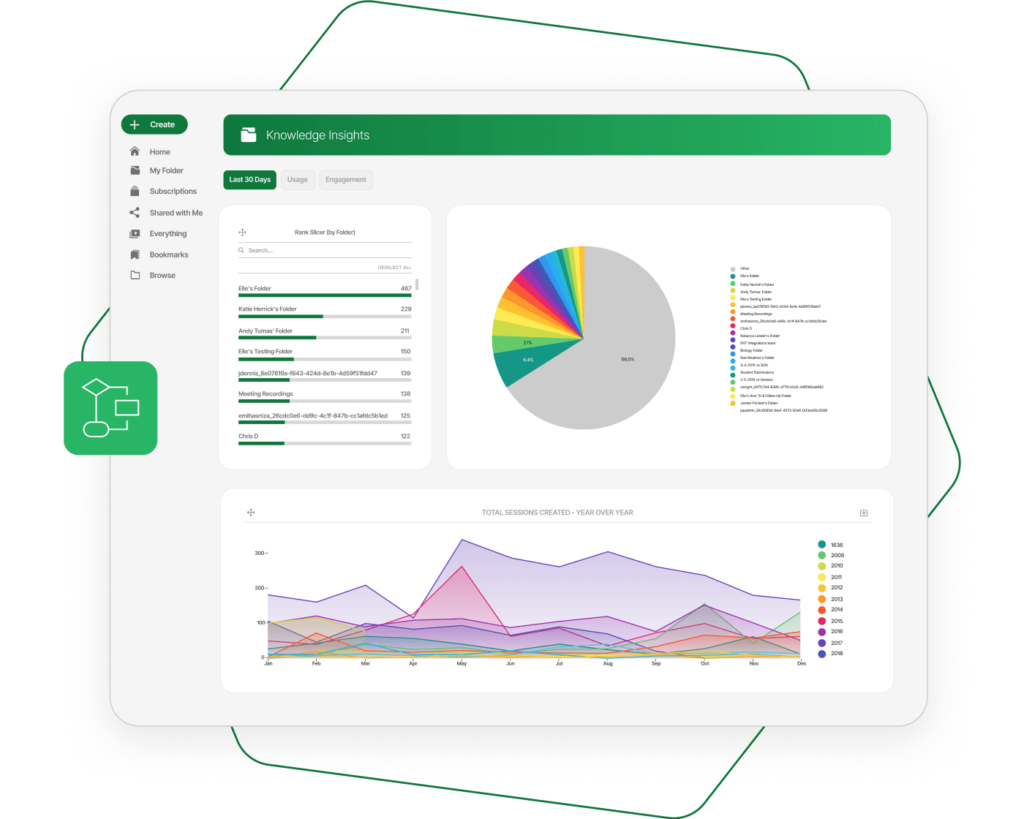
Deeper meeting intelligence through video analytics.
As a business you have to assess how internal meetings are impacting your business. With Panopto, you know how many meetings you really have and how much time is spent on them. Additionally you can discover who is watching which meeting recordings, what topics are searched and viewed most, and more.
With Panopto, your organization can see viewing records down to the specific details of which people are watching and which minutes they’ve watched within a video. You can even verify which viewers have watched your recordings in full, with SCORM-compatible data that can be delivered directly to your LMS.
Customize the way you manage video conference recordings.
Panopto’s video platform includes APIs that enable your developers to programmatically upload your recorded video conference calls securely to the cloud. Using the APIs and easy-to-use sample code, video conference calls can be ingested individually, or captured through the use of watch folders.


